Console
Back to home
On this page
Platform.sh provides a web console so you can interact with your projects and manage your environments.
This Console offers you ways to manage projects and environments other than the command line interface (CLI)).
Project list 
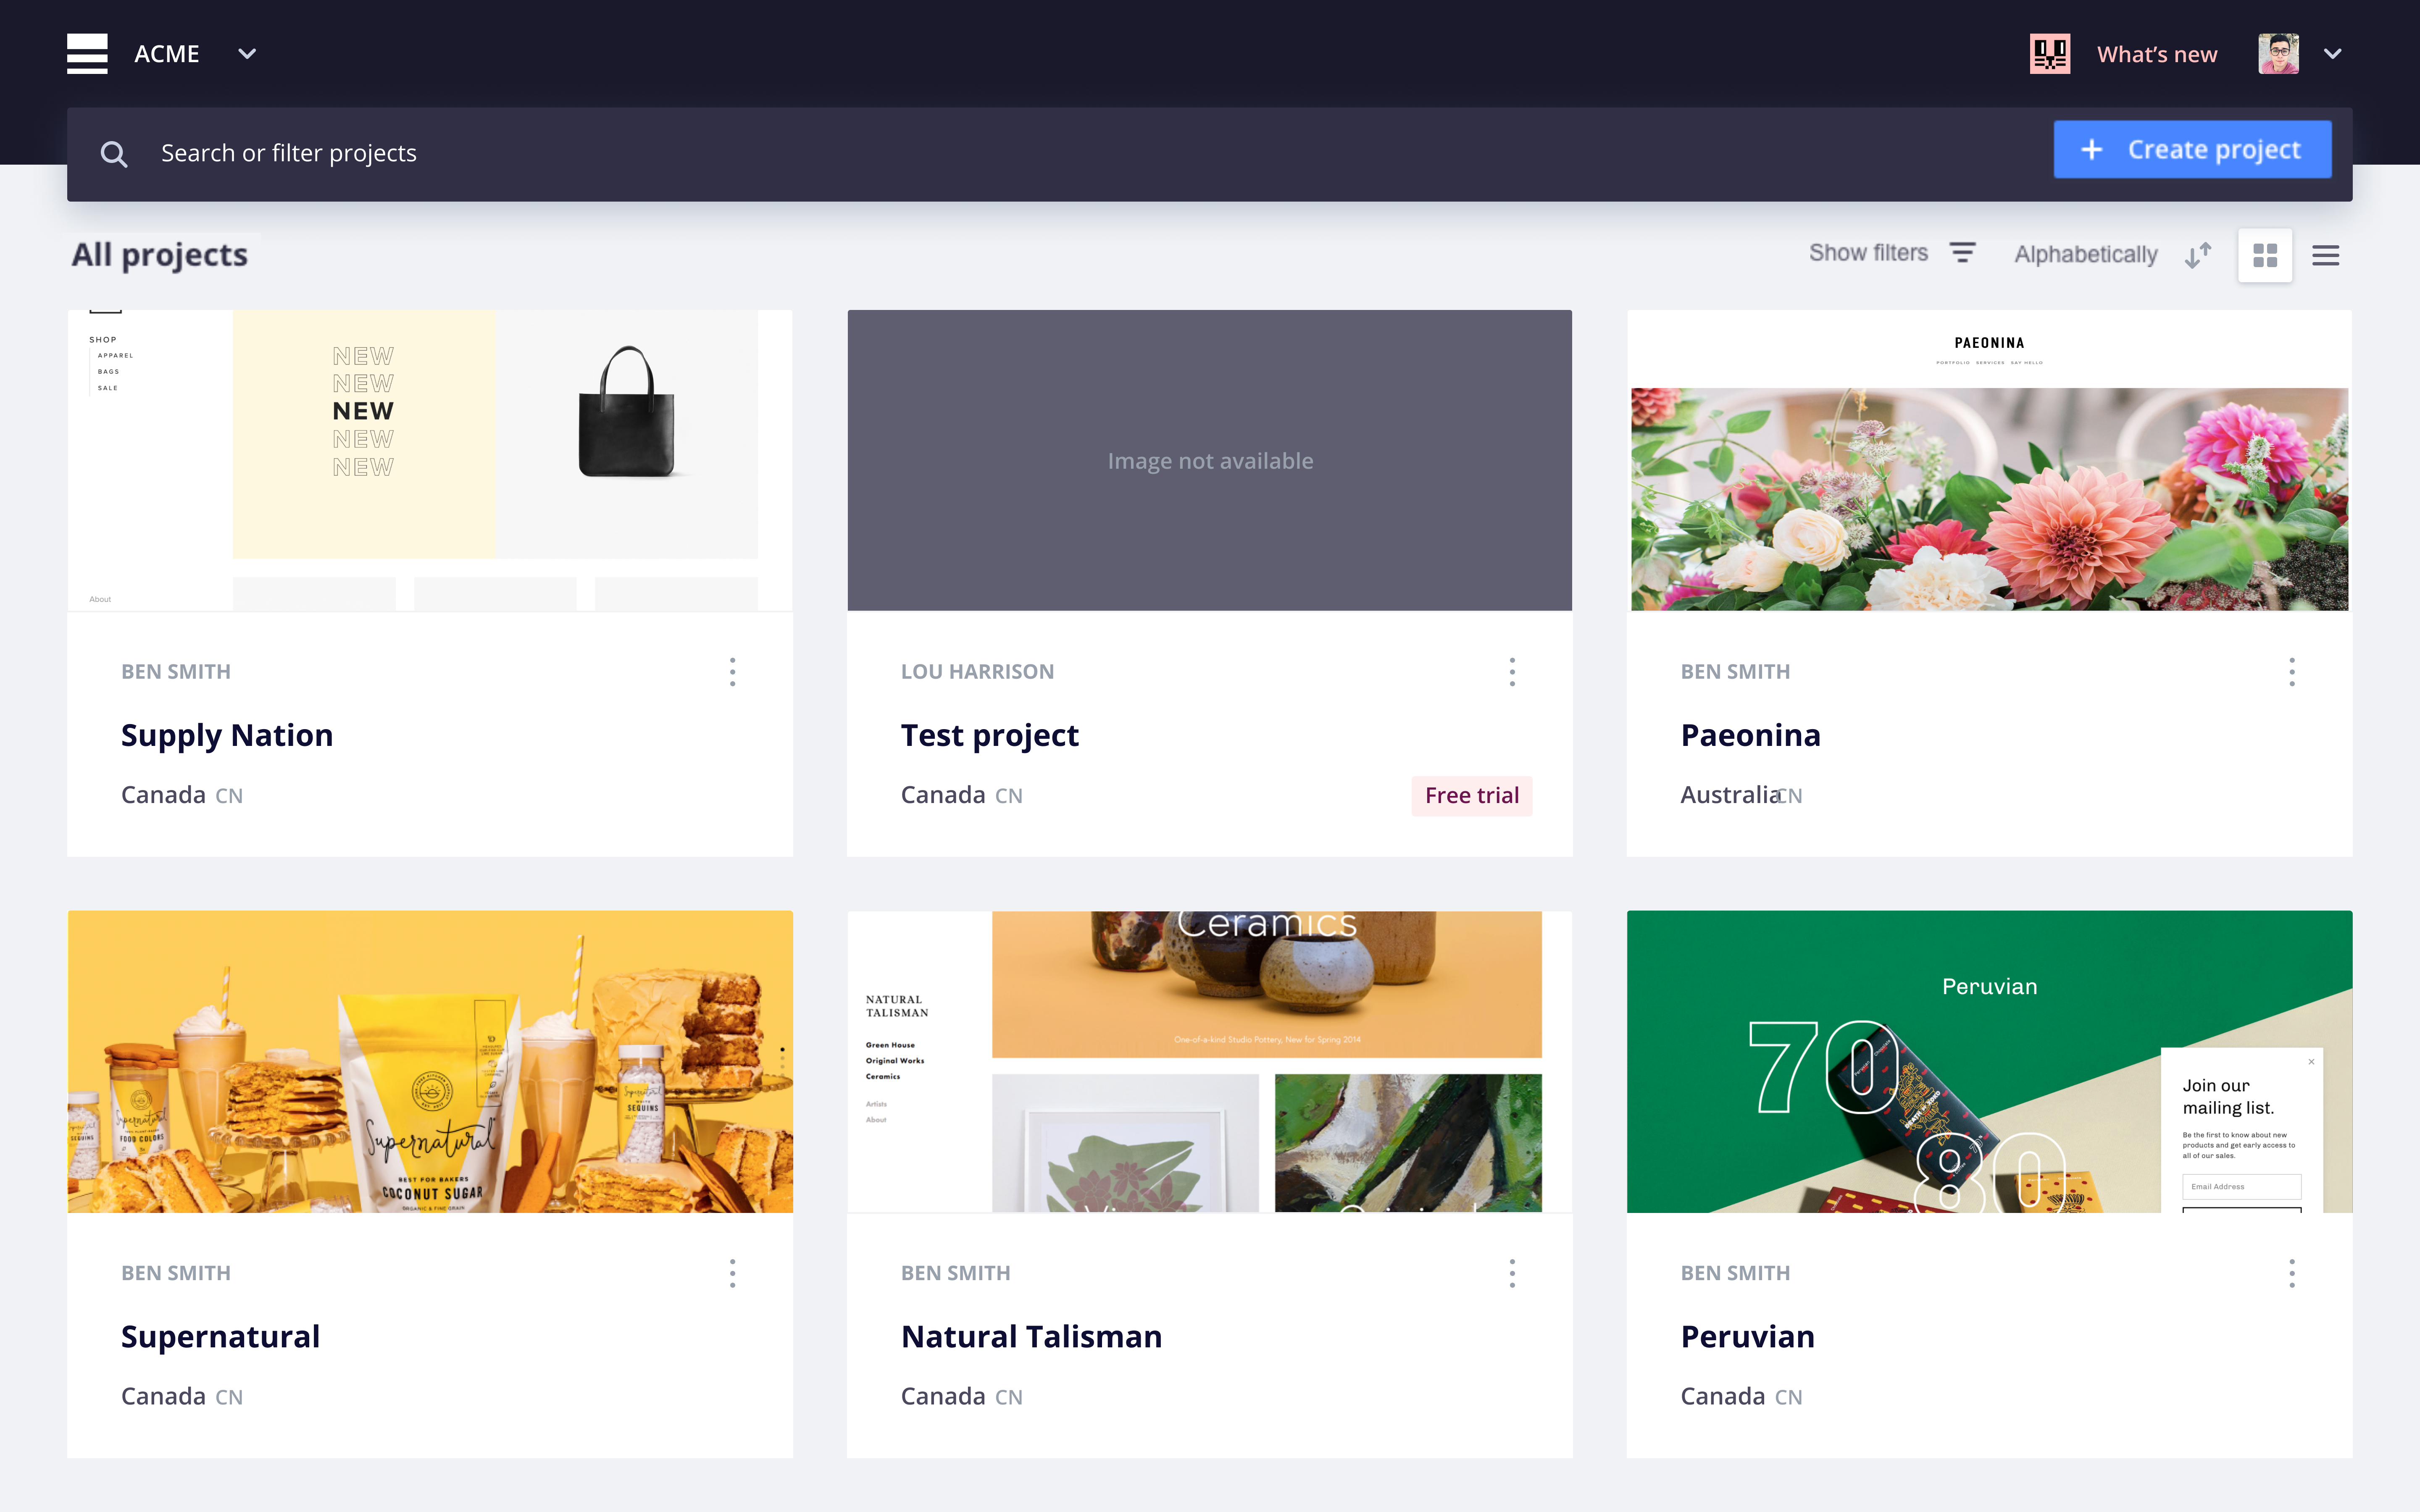
Opening the Console takes you to the first organization you joined as a Platform.sh user. You get an overview of all your projects within that organization. You can narrow the list down by searching for specific projects, or switch to a different organization from the menu in the top left-hand corner.
Once you select a project, you can configure the project settings. You can also choose individual environments within the project and configure each environment.
You can also create a new project by clicking + Create project.
Display settings
You can personalize the display settings for the Console. To do so:
- Open the user menu (your name or profile picture).
- Click My Profile.
- Choose the mode you want.
- Click Save.
The Console can be displayed in three ways:
- Light mode (default)
- High contrast mode
- Dark mode
To meet our commitment to accessibility, all three options are compliant with level AA of the Web Content Accessibility Guidelines 2.0.